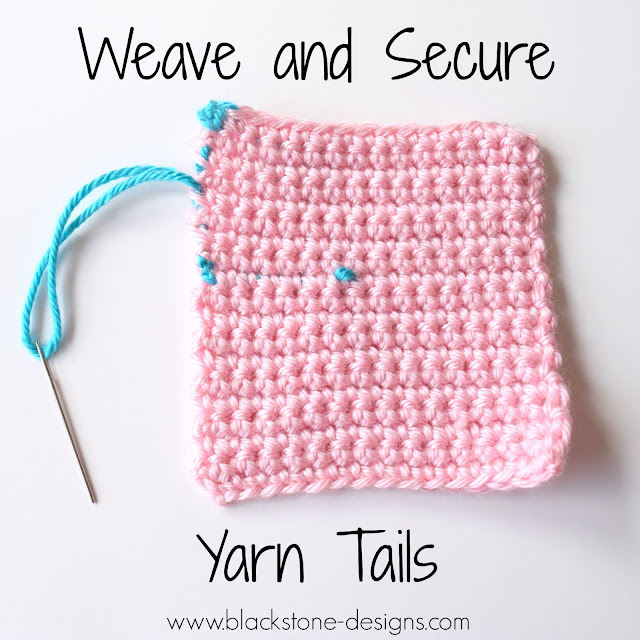
This is a question that gets asked a lot in the crochet community: "How do I keep my tail weaved in, so my project doesn't fall apart?"
There are likely many methods people use, but the method I'm going to show you is what I have used over a decade and I have yet to have a project fall apart (even after multiple washes)!
This post contains affiliate links
For the purposes of this tutorial, I have used a small swatch and finished it by using a contrasting color, so that the tail will be easier to see.
When you come to the end of your project, fasten off as normal, but leave a long tail. I suggest a tail length of 8"[20cm] for small projects like hats or slippers and 12"[30.5cm] for larger projects like sweaters or afghans. Truthfully, the longer the tail, the harder it is for it to come undone. Thread your tail onto a tapestry needle. Make sure you're using the smallest needle you can, while still being able to to easily get your yarn into the eye.
Next, working on the wrong side of your project, insert your needle between the back loop and front loop of the
last stitch you created and start weaving your tail by going down
through the center of the stitch. Continue going down the center of the
stitches for the next several rows (I do about 5 rows for small
projects, and around 10 for larger projects).
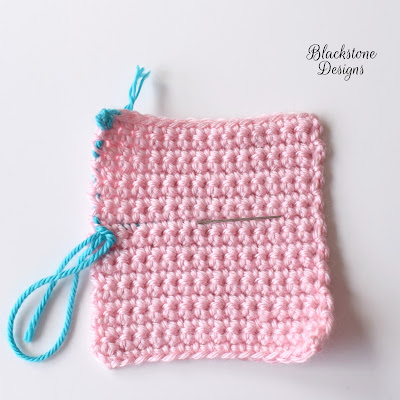
Working the side to side, go through the base of the next several stitches (5-10), then head back toward the beginning of the row, making sure you are
working in the exact same spaces, and breaking through your yarn tail.
Once you're back to the beginning, continue upward, and weave your yarn
through the same spaces as you started in, making sure to break through
the yarn tail. Work halfway back to the top. Not shown: cut the yarn tail as close to the project as you can. Give the project a little "tug", so the tail slips inside.
Also, if you wet your project after you've finished weaving the end, you help "mat" the yarn together, and further seal the tail. This will actually hold up through washes as well.
There are products on the market, for clear fabric glues, that are also washable. You can dab a teeny dot of that where you clipped the yarn if you want.
Here's a video tutorial for a better explanation of this weaving method (I apologize that it's upside down LOL)
I hope you find this useful! I know it seems like it takes more effort, but it's definitely worth it after all the time it took you to create the project. Thanks for stopping by! Come on over and join the Blackstone Designs Crochet Community for to share your finished projects and so much more! Don't forget to Pin this tutorial!
Sonya Blackstone is a participant in the Amazon Services LLC Associates Program, an affiliate advertising program designed to provide a means for us to earn fees by linking to Amazon.com and affiliated sites.